Not clearing the drawing buffer might seem like a gimmicky way of creating an effect. But in a lot of games it is used extensively to squeeze a little performance.
When you went flying out of the skybox of old games, or had a bug, you'll notice this really weird effect where things keeps drawing and not clearing the previous result. Looks like an obvious issue, but it was an intended feature
They leveraged the fact that you always needed to be inside the skybox to avoid having to clear the previous result. After all, the skybox will draw over everything that was drawn before. So, there was no need to clear the previous result.
Also, you can see how they didn't clear the buffer in the solitaire winning effect!
Inspiration
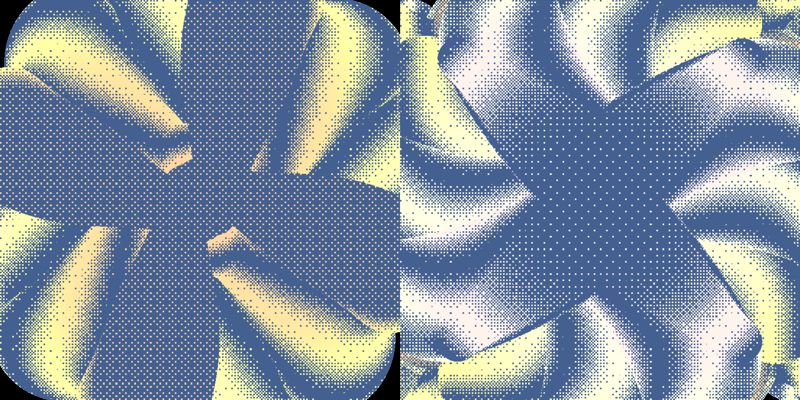
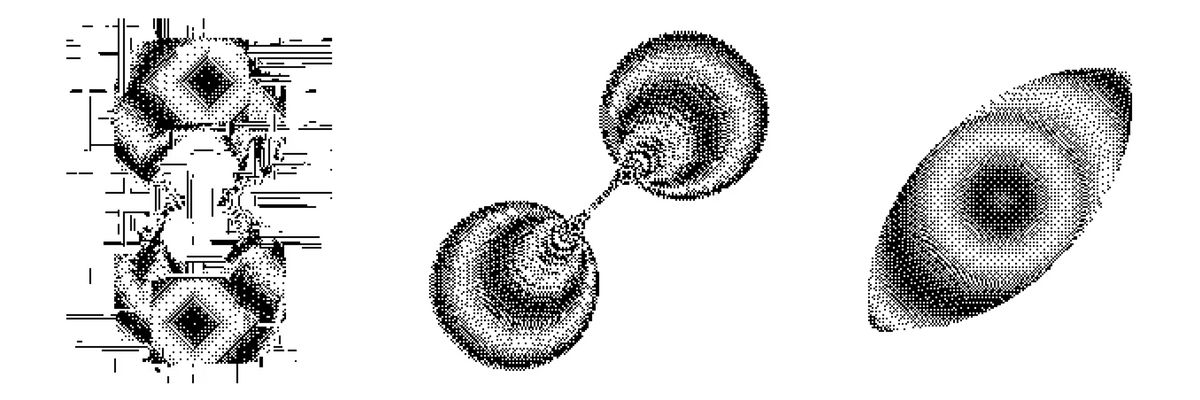
The demo, and the entire issue was inspired by loackme's dithering sketches: First, Second, third . The way that the dithering looks as you keep drawing on top of it looked super interesting so I decided to create my own version of it!
sponsor

Become a sponsor with your sponsor spot here!
Promote your product/company in this spot to hundreds of creative developers interested in learning and creating. One spot per issue!
Learn More!Preserving the last render.
While you can create this effect with preserveDrawingBuffer=true, I created a second framebuffer to draw to and then draw that framebuffer to the screen. Then, each renders samples that framebuffer to get the previous behind its current drawing. Works the same as with preserveDrawingBuffer = true
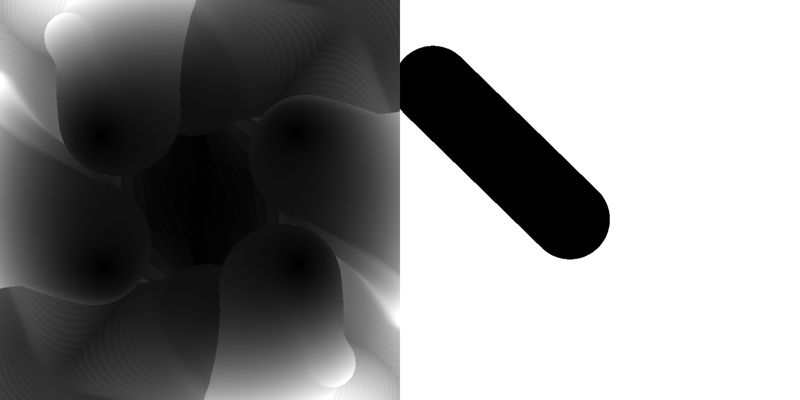
Drawing Lines
This demo has 4 uniforms to draw 4 lines. Each uniform is a vec4 that has the starting position on the xy, and the end position of the line on zw.
Then, for each line we calculate the sdf and the minimum-distance to the line along it's length. We use the SDF to draw the line, and the minimum-distance to help the dithering travel along the line length later on.
uniform vec4 uMouse0;
uniform vec4 uMouse1;
uniform vec4 uMouse2;
uniform vec4 uMouse3;

void main {
   ...
   float d0 =  minimum_distance( uMouse0.xy, uMouse0.zw, uv);
   float sdf0 = line_segment(uv , uMouse0.xy, uMouse0.zw);
   // ... repeated for each uniform

}
Line Mode and Cursor Mode
The default is the line mode. All the lines follow the mouse but rotate its position by 45 degrees and are slowly rotated over time so none of them reach the exact position of the mouse. This mode was an accident. I was trying to make a mouse follower but incorrectly set the uMouse.wz and it created these lines that covered the whole screen but produced interesting results.
The cursor mode, when you click it makes all 4 lines follow the mouse with different spring speeds and dampening to offset their movement.
const settings = {
  spring: 0.05,
  damping: 0.9,
  friction: 0.99,
  snapThreshold: 0.00000001
}
this.uMouse0.value.x += spring(
  current,
  'x',
  this.state == 'cursor' ? this.uMouse.value.x : target.x,
  settings
)

// DO the same for each component (x,y,z,w)
// of each cursor (uMouse0, uMouse1, uMouse2, uMouse3)
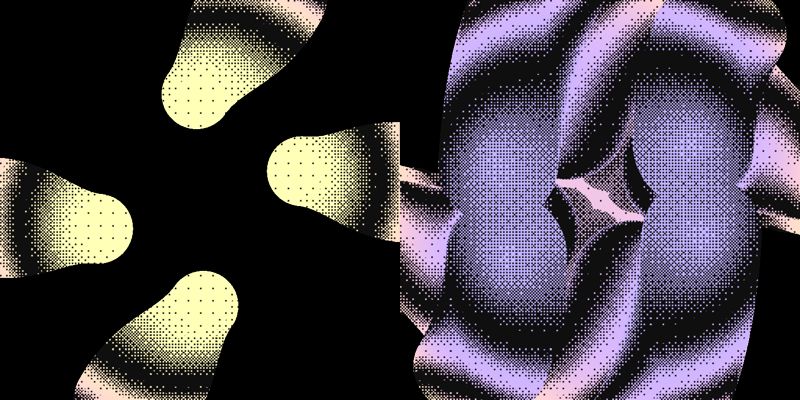
Line Dithering
For the dithering, use the minimum distance to give the line a different pattern along it length. This can be done with the SDF, but the minimum-distance gives a slightly better result when on movement.
float d = d0 * d1 * d2 * d3;
float diffuse = dither8x8(uv  * ditherSize, sin(uTime * 0.0093 + d * 100.) * 0.5 + 0.5);
Notice how without minimum-distance, the image the line has the dither pattern along its length