If you've ever tried to take a screenshot of your canvas with toDataUrl you probably had the same result I did: Sometimes a black image. Why does this happen, and why does preserveDrawingBuffer help with the issue?
Every WebGL Scene has two buffers. The Drawing Buffer (back buffer), and The display buffer ( front buffer). Their names imply their function, one is made for drawing, and the other for displaying the result on the screen.
WebGL uses two buffers instead of one because:
- We don't want to show incomplete results
- Drawing directly to the screen to the screen while the GPU is rendering can cause tearing/flickering
By default, preserveDrawingBuffer=false, swaps these buffers once rendering is done. And after the swap, the new drawing buffer is cleared.
canvas.toDataUrl returns the drawing buffer. And because swapping clears the buffer, the result with toDataUrl is black even though the screen may show your result correctly.
In contrast, preserveDrawingBuffer=true, copies the drawing buffer into the display buffer. This operation is more expensive, but it keeps the drawing buffer intact. Allowing you to get an screenshot whenever.
You can still get screenshots with preserveDrawingBuffer=false, but you have to do it directly after rendering in the same function.
Aside from that, you can create some cool effects by preserving the Drawing buffer in different ways.
Getting started
- Akella in-depth particle effect tutorial with preserveDrawingBuffer
- How does Preserve Drawing Buffer works?
- Why taking screenshots of the canvas creates a black image
- Why does WebGL Clear the back buffer?
sponsor

Become a sponsor with your sponsor spot here!
Promote your product/company in this spot to hundreds of creative developers interested in learning and creating. One spot per issue!
Learn More!Persistence Effects in ThreeJS
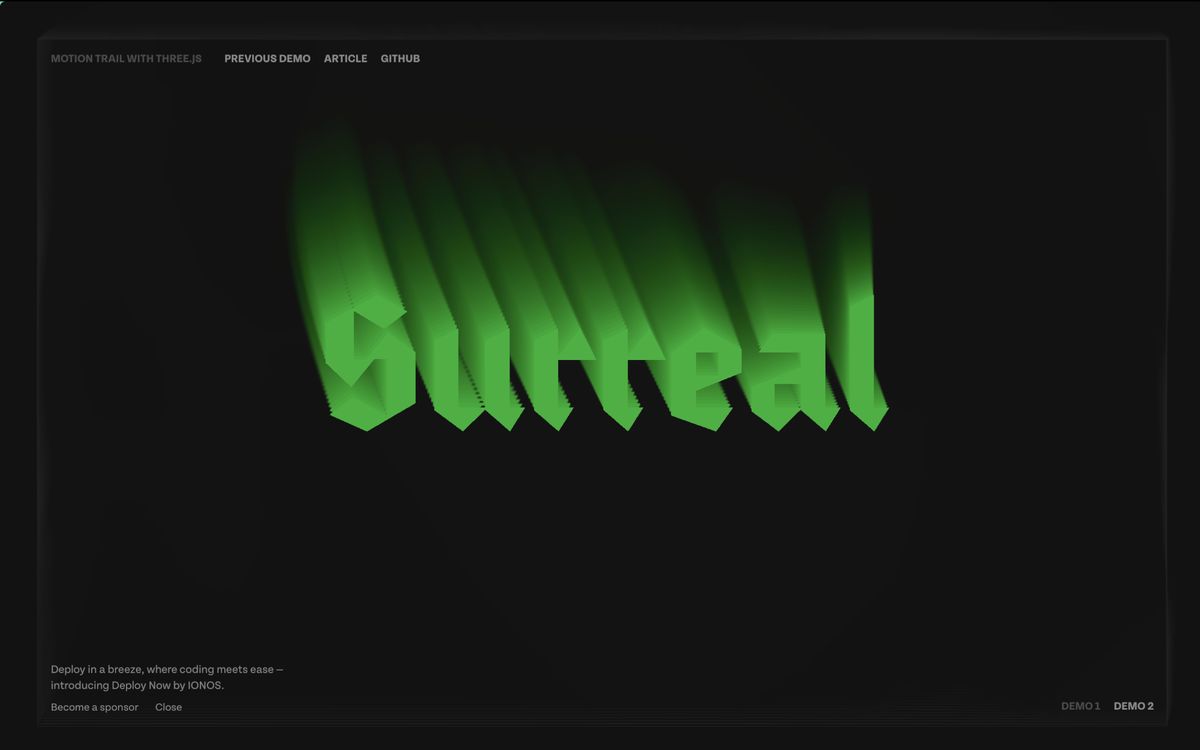
While you can create this effect with preserveDrawingBuffer:true, most of these types of effects nowadays will create a second drawing buffer. Including this week's demo.
This is the case because it's likely you don't want the effect on every single object in your scene. Using a framebuffer to draw instead gives you more control.
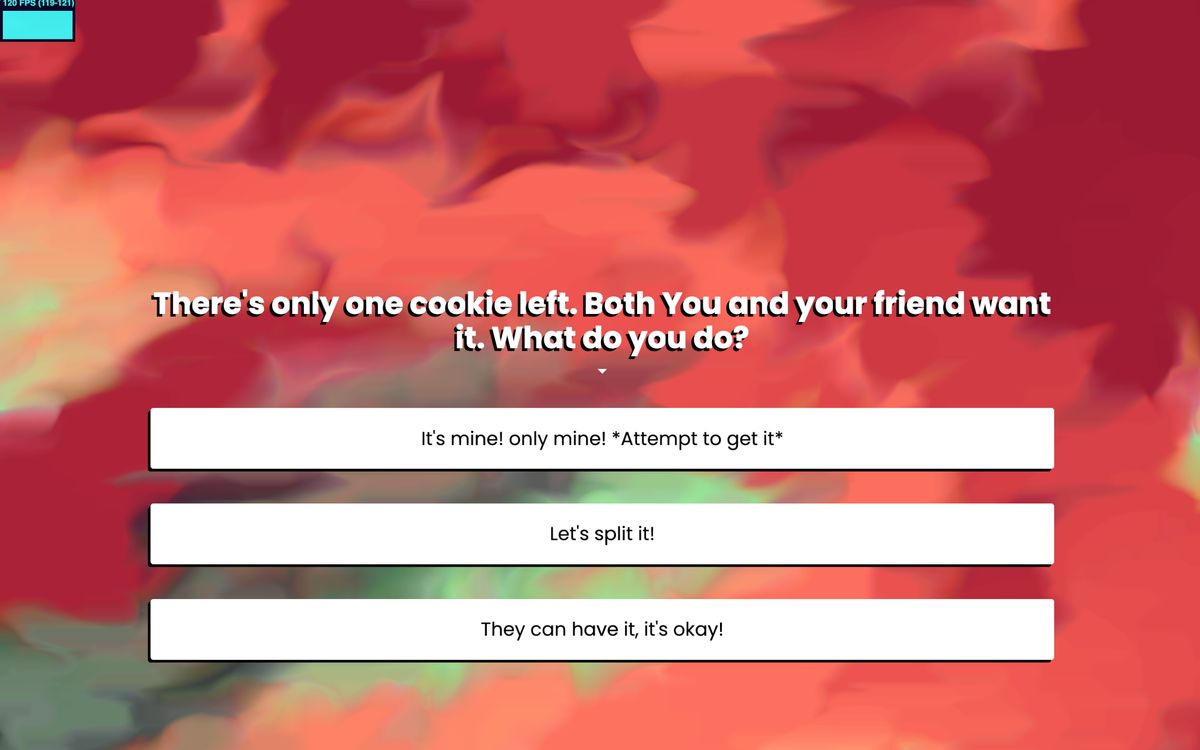
Motion Trails in Typography
With preseveDrawingBuffer=true, you cannot modify the last result, you can only draw on top of it.
By using frame buffers to handle these types of effects you can modify the previous render by scaling it or distorting it a little bit each frame creating a more dynamic change over time. This is called feedback
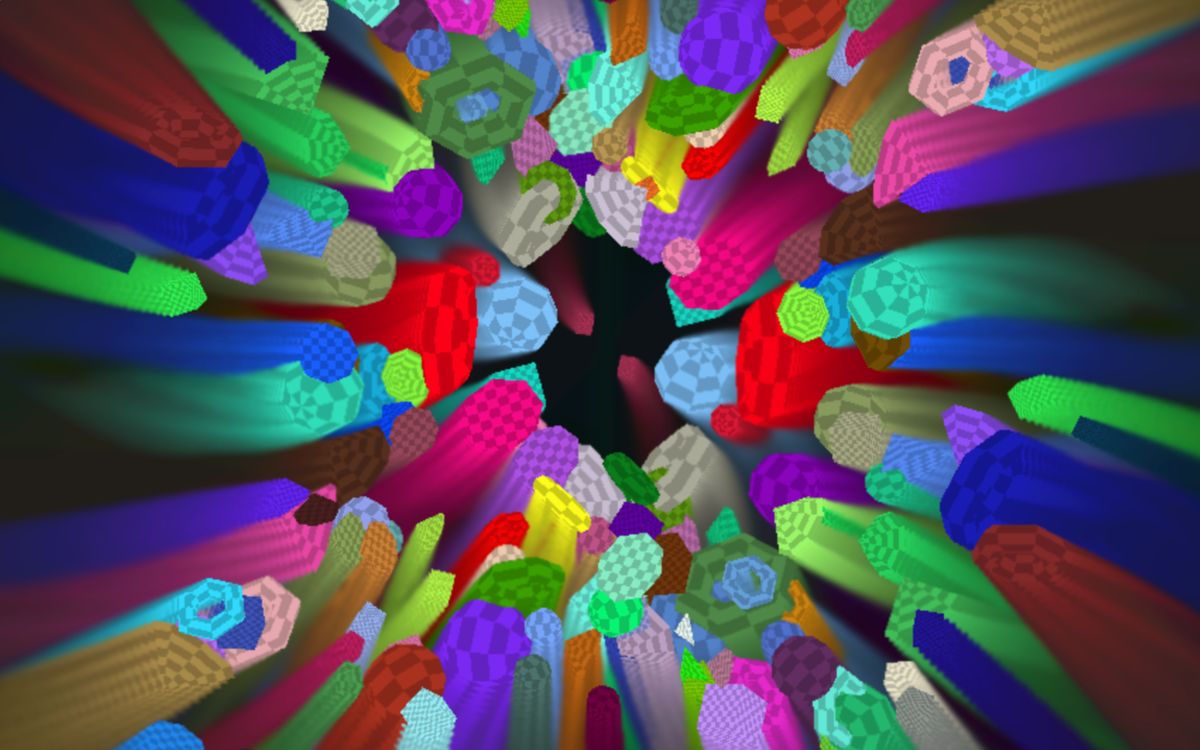
Fluid Simulations with feedback
While this fluid simulation seems like a radically different effect. It works exactly the same.
Draw a circle or a line onto the scene. Then, sample the last render (inside the render buffer) a little bit distorted and displaced each time. Over time, the colors will blend and mix in a way that it looks like a very simple fluid.
This is an old fluid demo I never released.