In the real world, Refraction happens because a glass of water is denser than air. So, light travels slower, and its angle of movement changes. As a result, the light that finally reaches our eyes came from slightly the side.
Calculating Refraction in WebGL requires 3 things involved in this phenomenon: Where the light is gonna end, the eye (camera's view direction). What's the surface that bends the lights, the object's normal (vNormal). And the strength of the bending, index of refraction. (IOR)
vec3 refracted = refract(vec3(0.,0.,-1.), viewSpaceNormal, 1.0/(ior));
vec4 refractedTexture = texture2D(tMap, uv + refracted.xy);
vec4 cubemapRefraction = textureCube(tEnvTexture, refracted);
In this case, the camera's view direction was factored into the normal in the vertex shader.
Getting started
- How to get make a multisite Refraction in ThreeJS
- How to use ThreeJS Refractions
- Deep article in Reflection and Refraction
- SSR in videogames
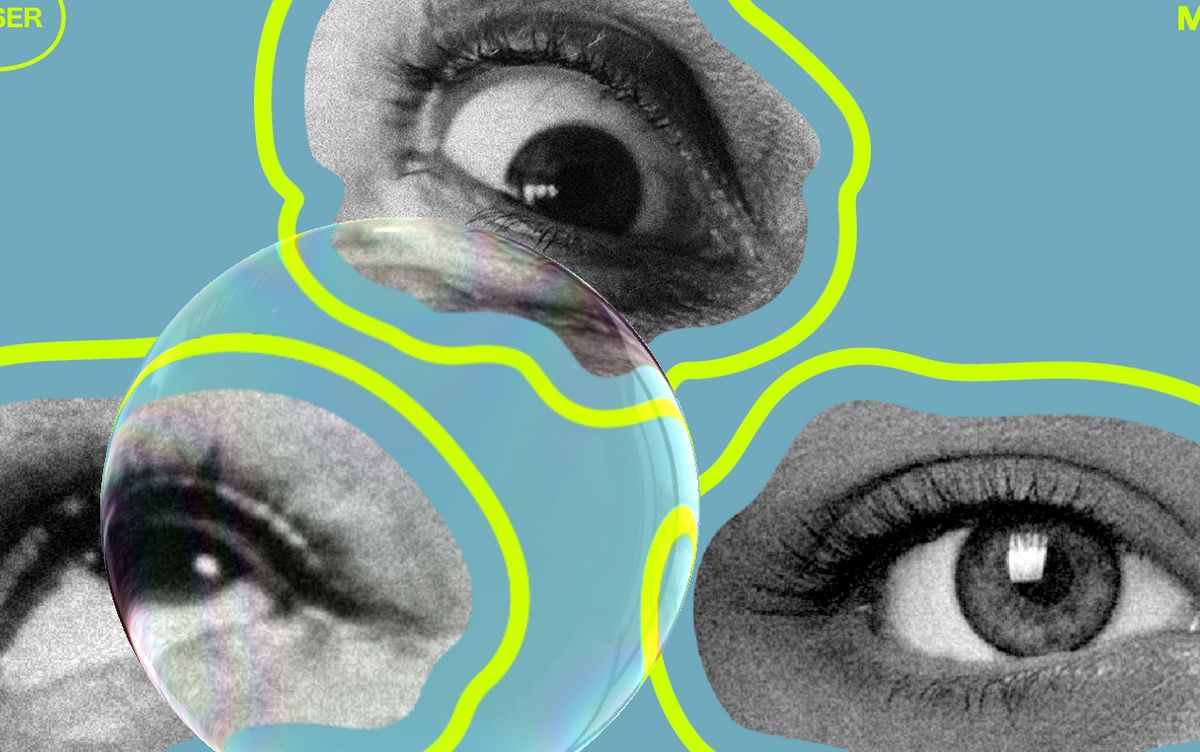
Fake blob refraction
In this demo, Keita doesn't refract things as I mentioned above. Keita uses a 2D blob and some math to displace the render behind it. The blob is 2D but looks like 3D thanks to the refraction.
This approach allows him to create a cool demo without worrying about a 3D sphere, or worrying about the normals or creating an accurate refraction.
Bubble edge refraction
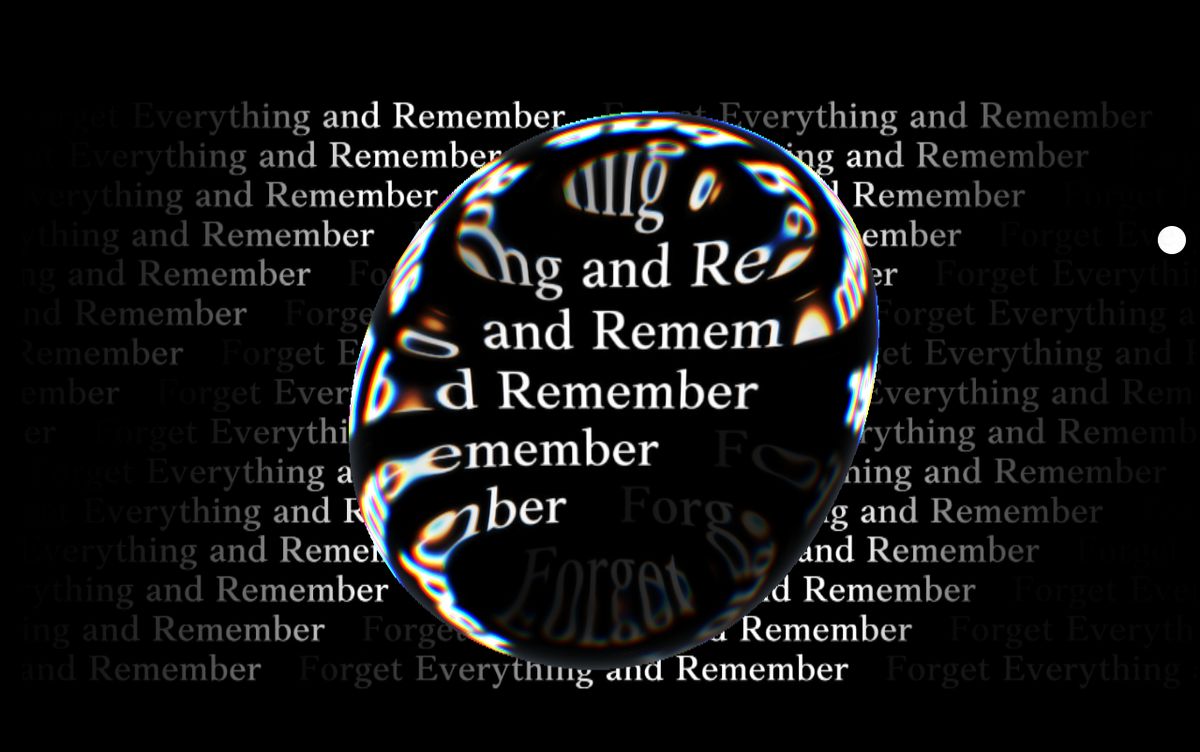
To real-time refracts objects behind, you need two renders. One to render the scene, and a second render for the refraction object using the previous render as a texture. But how does the WebGL refract the whole website behind it? Webgl can't just refract HTML.
In this case, they render every piece of text and image into a canvas2D. Then, they use those textures to render an exact copy of the site in WebGL and finally render the refraction.
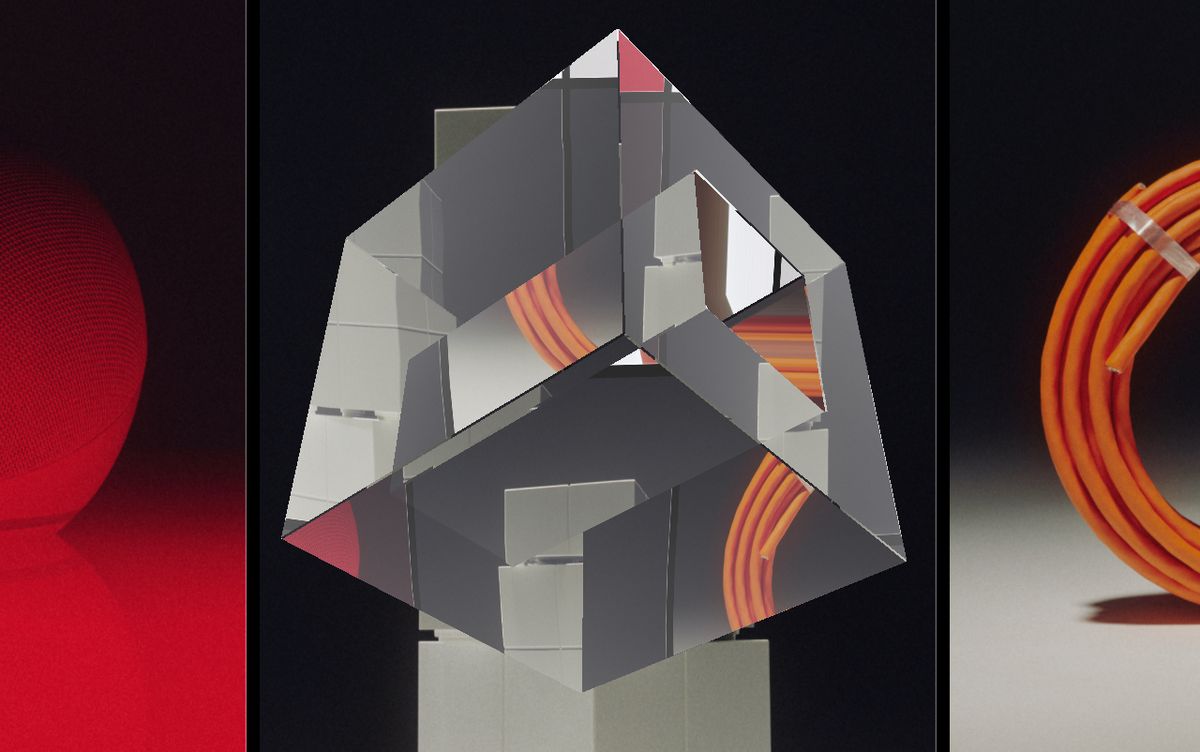
Glass Cube Refraction
Similar to this week's demo. Federico uses 3 renders, instead of two. This allows him to refract the refraction of the cube's back:
- Render Everything behind.
- Render the backface normals of the cube
- Render the front face of the cube to refract step 1 in combination with step 2
Double refraction crystal
This demo also uses 2 renders for the main refraction part. However, the refracted texture is blurred with an extra render pass (3 renders) to give make the glass not so clear. Another way of creating this blurred look is by using mipmaps!

Glass Depth Peeling
Look around in this demo and notice how the glass absorbs light (darker) in the places where it's thicker. This is done with depth-peeling to render transparent objects independent of order.
This is not the only way of getting thick glass, this article does it in a single render!
