Hello folks!
Usually, the way we render in webgl is by taking three pairs of vertices to create a triangle for the computer to fill it in:
THREE.Mesh (internally uses WebGL's primitive gl.TRIANGLES)
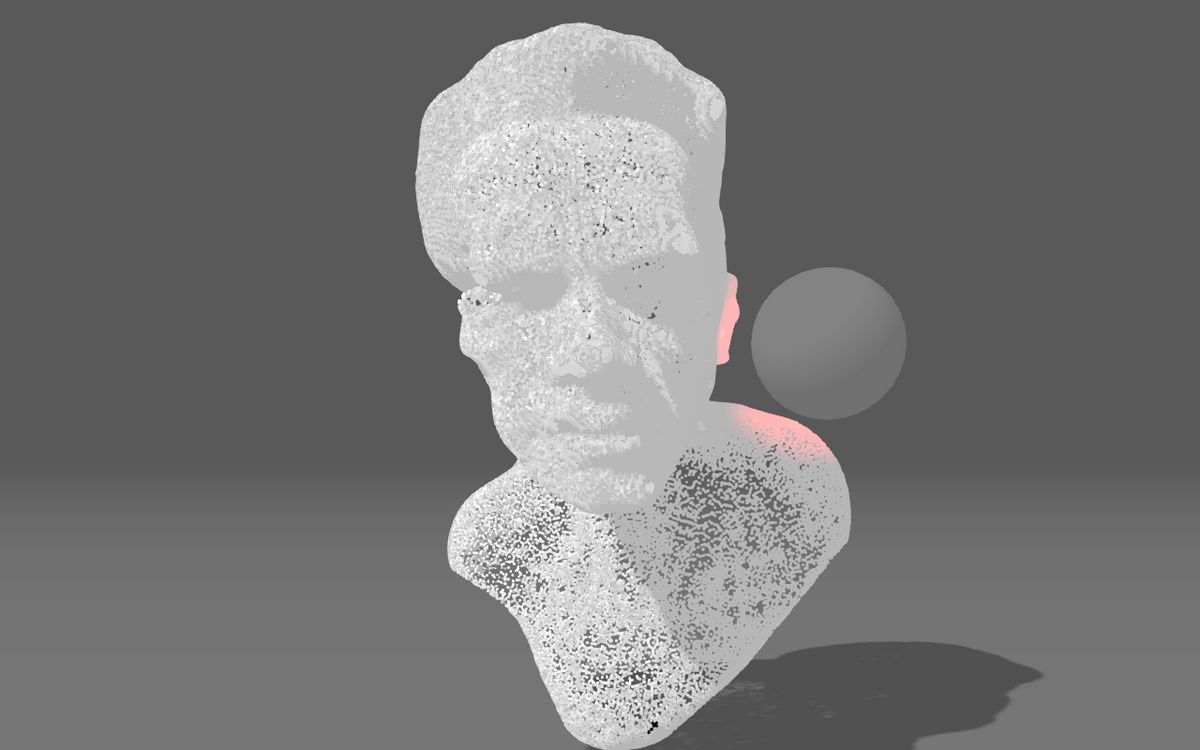
However, we can instead take those vertices individually and render them as points.
THREE.Points (internally uses WebGL's primitive gl.POINTS)
Then, our brain is the one that fills in the gaps and makes meaning out of the bunch of indenenpent points.
For people and faces, this loose representation works wonders. Aside from the stylistic look, it helps with avoiding falling into the uncanny valley pitfall and gives room for imagination.
Getting started
- Point Cloud Introduction by ManiFlames.
- Interactive particles with threeJS by Bruno
- ThreeJS Particles video tutorial by Design Course.
- (Paid but worth) Fabio ThreeJS particles from model course
- (Paid but worth) Fabio ThreeJS particles from model course
Morphing points
On Homunculus' website, they created a white circular shape in photoshop. When you move the mouse, they create more planes that grow over time with the pre-generated image on top.
In austin's folio he uses threeJS' morphTargets to change between the different models.
(Paid but worth) Fabio ThreeJS particles from model course
Morphs (in threeJS) work by converting your geometries into images of data and blending these images. It takes all the vertices x,y, and z positions and places them in the R, G, and B values of the image.
Then, in a shader it blends these images together. 0 means the first image, 1 means the second image, 2 means the second image and so on.. everything in between is a morph of two geometries.
This is the same techniqued I used when making Fan study by Spotify.

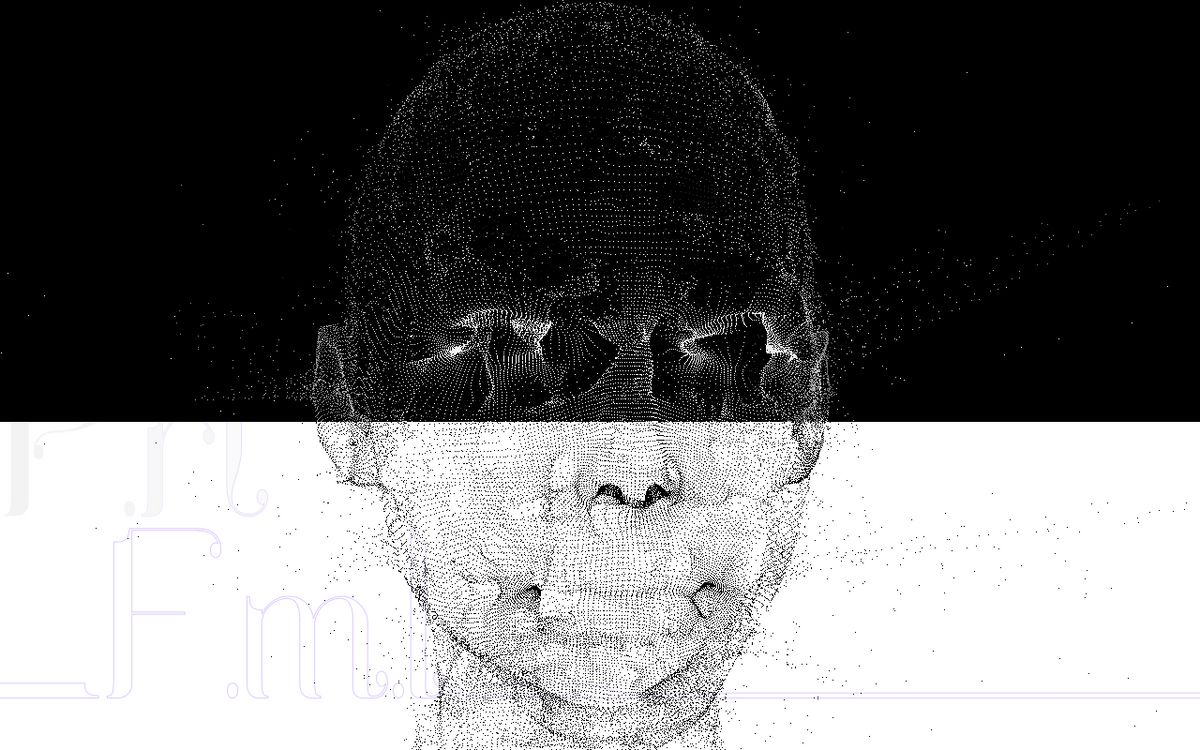
Particle color swap
In this demo, Ronald swaps the colors of the particles in their fragment shader. First, we calculate the screen position (refered as screenspace):
float screenSpaceY = gl_FragCoord.y / uScreenHeightThen, we compare that to the screenspace position of the mouse
vec3 color = screenSpaceY < uMouse.y ? black : white;However, you could implement it with a div and css blend-modes like Akella in his reconstruction.
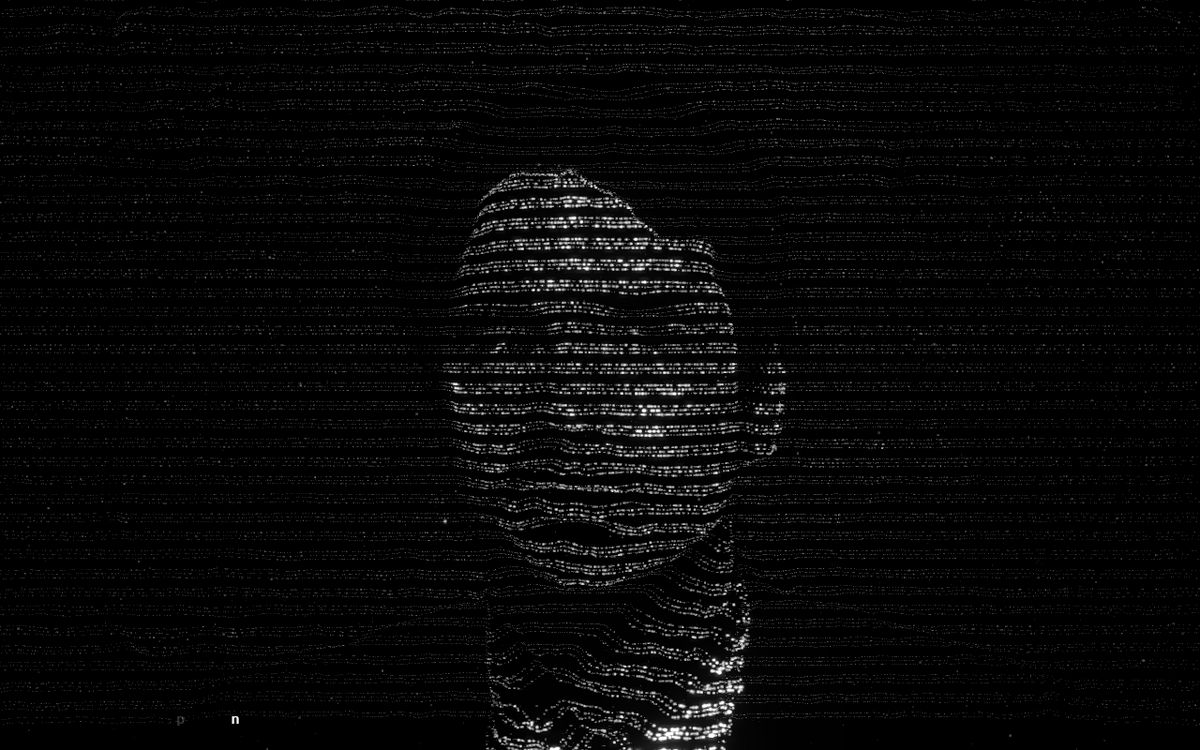
Efficient 3D spheres
To begin with this effect, 60fps took grayscale images of their team making the faces light and the background dark. Light (value 1) means push forward the 3D points and dark (value 0) means stay backwards.
Then, they take 50 pictures looking to the right, combined them in a single huge image (spite sheet 1500x1700) and select the correct image inside the shader.
Because our faces are symetrical, they only need photos looking at one side and they mirror it for the other.
Because the image is only use push loose points forward, they don't need high resolution. 300x170 (inside the sprite sheet) is more than enough.
In this game, the "squishiness" of the torus is made with a gradient from top to bottom used in two ways:
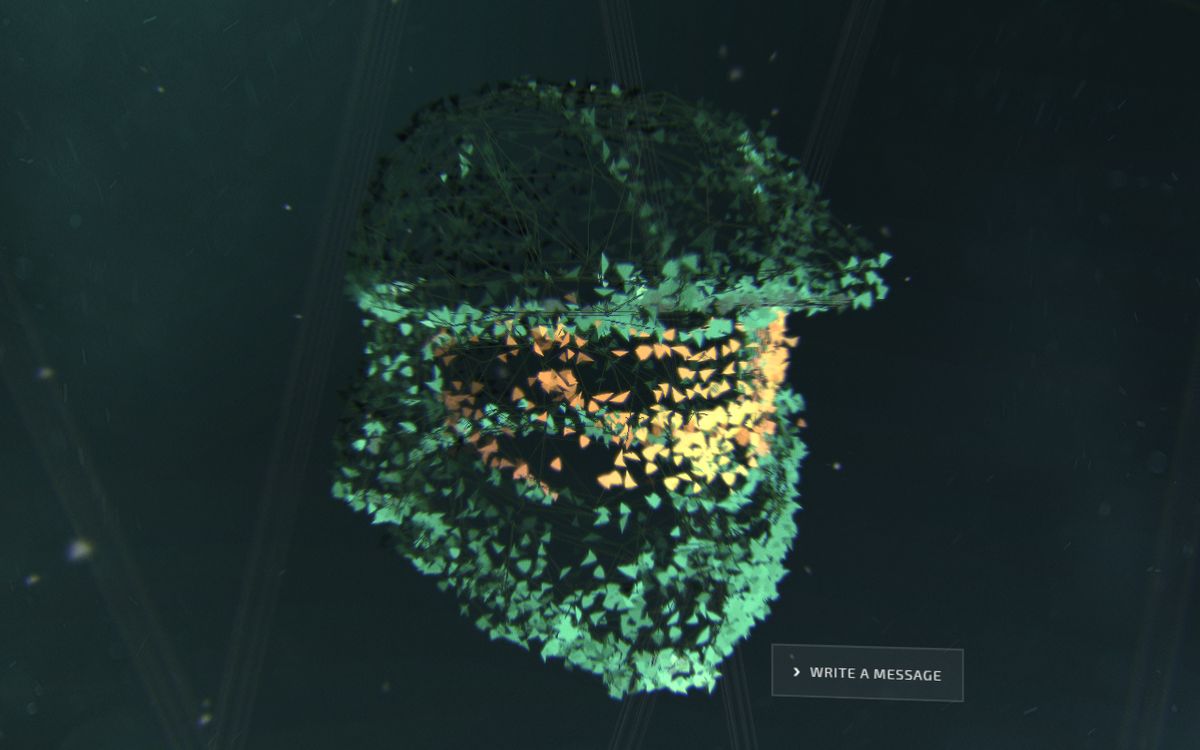
Triangle spring physics
Here active theory loosely two halo helmets with triangles with CPU physics.
To always keep the overall shape of the helmet, they use multiple layers of triangles. Only the outer layer that can be pushed with the mouse.
In their medium they talk more in depth about the postprocessing and cool interactive lighthing
Efficient 3D spheres
Since the particles are so small, this demo is able to trick your eyes into thinking these are actual 3D spheres with "billboarding".
Instead of a 3D object, it uses a 2D plane that always faces the camara. Then it just draws a circle on top of the plane.
If you go to the "particle" tab and click on "sphereSprite" sheet, you can see them even reflect light as if they were an actual sphere. This is done by also generating "sphere" normals, and depth maps.
This technique is also used in Zelda breath of the wild to render thousands of trees.
Quentin's article about this demo is also worth a read. And his renders are amazing too.